Polymer Concrete & FRP Enclosures
Installation Instructions
Step 1
Site Selection & Safety
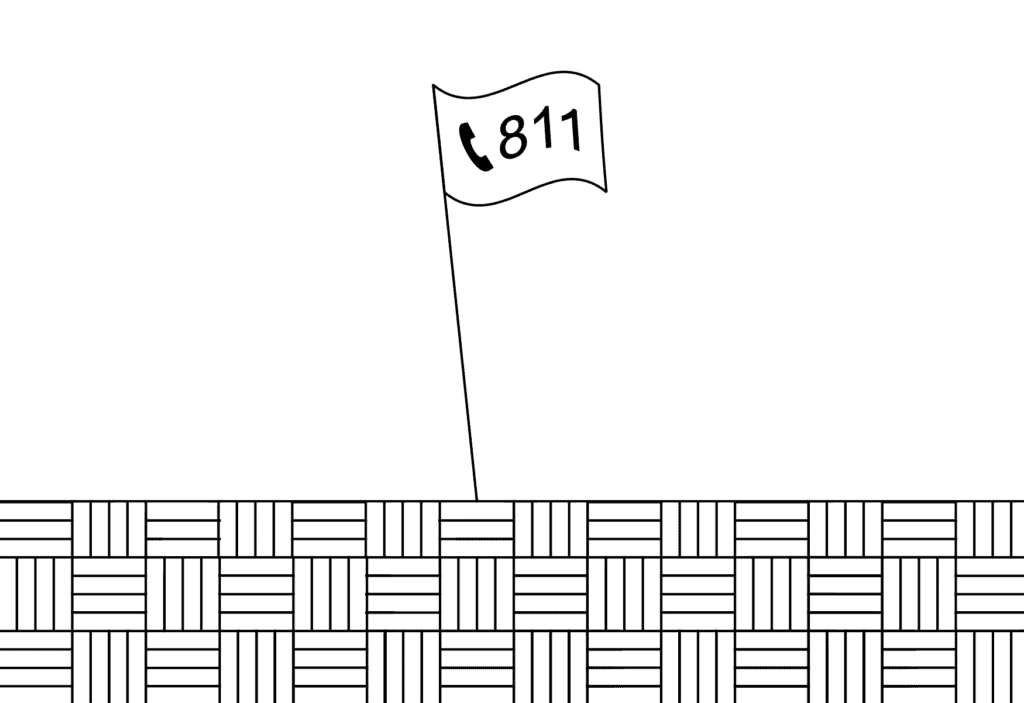
• Confirm no underground utilities within excavation area (call 8‑1‑1 or local equivalent).
• Verify enclosure load rating aligns with expected traffic (pedestrian, medium duty, traffic rated).
• Select a level location or ensure proper drainage if grading is necessary.
• Verify enclosure load rating aligns with expected traffic (pedestrian, medium duty, traffic rated).
• Select a level location or ensure proper drainage if grading is necessary.
Step 2
Excavation
• Excavate a hole approximately 12–18 inches wider and longer, and 6–8 inches deeper than the enclosure.
• Ensure the bottom is level and free of debris or loose soil.
• Ensure the bottom is level and free of debris or loose soil.
Step 3

Base Preparation
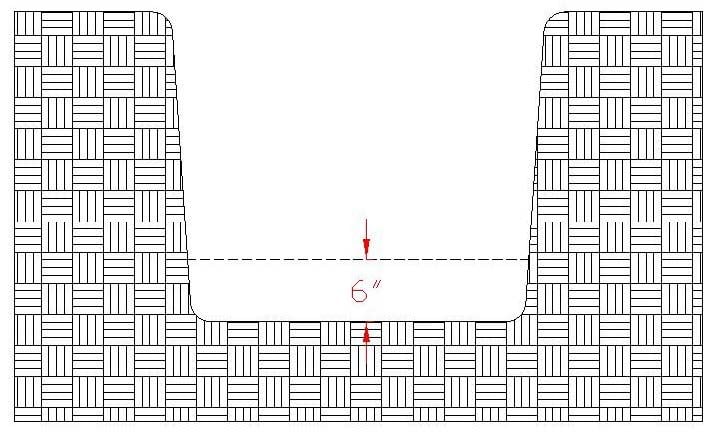
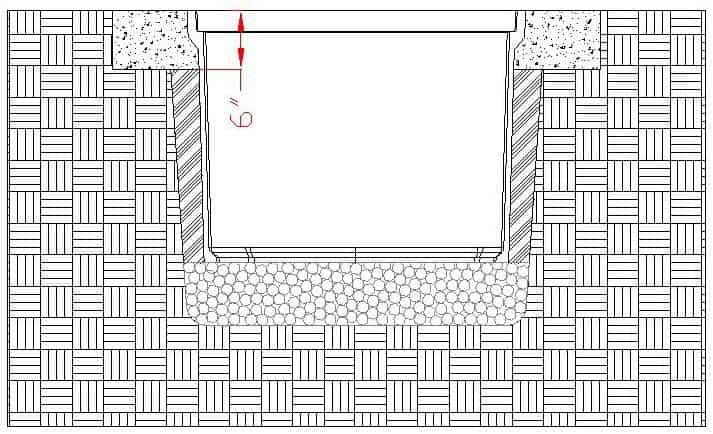
• Place 6 inches of clean, angular crushed stone (¼"–¾"), free of organic material.
• Lightly tamp the base to create a stable, level surface. Avoid heavy mechanical equipment.
• Lightly tamp the base to create a stable, level surface. Avoid heavy mechanical equipment.
Step 4

Placement & Leveling
• Remove enclosure cover before lowering.
• Carefully set the enclosure onto the stone bed; adjust it so the top edge is flush with final ground grade and oriented appropriately.
• Carefully set the enclosure onto the stone bed; adjust it so the top edge is flush with final ground grade and oriented appropriately.
Step 5

Lifting & Bracing (When Required)
• For large or traffic-rated boxes, use proper lifting straps or equipment, never by the cover.
• If compaction is expected to exceed 95% or if heavy machinery will be used nearby, place internal bracing (e.g., 2×4 wood) at mid-depth to support sidewalls.
• If compaction is expected to exceed 95% or if heavy machinery will be used nearby, place internal bracing (e.g., 2×4 wood) at mid-depth to support sidewalls.
Step 6

Backfilling
• Begin infilling around the enclosure in 6-inch layers, tamping each layer manually.
• Ensure fill works into any exterior ribs or voids for uniform support.
• Ensure fill works into any exterior ribs or voids for uniform support.
Step 7
Load-Specific Finishing
• For pedestrian or greenbelt areas: Finish with compacted backfill graded to site.
• For sidewalks or occasional vehicle traffic: Install a 6-inch concrete collar around the top perimeter for structural support.
• If exposed to nondeliberate vehicular traffic: Use a reinforced concrete collar as needed, consistent with enclosure load rating and local codes.
• For sidewalks or occasional vehicle traffic: Install a 6-inch concrete collar around the top perimeter for structural support.
• If exposed to nondeliberate vehicular traffic: Use a reinforced concrete collar as needed, consistent with enclosure load rating and local codes.
Step 8
Final Adjustments & Cleanup
• Ensure the enclosure cover is securely reinstalled, seated flush, and bolted if necessary.
• Grade final surface to slope away from enclosure to facilitate drainage.
• Remove tools and debris from the site.
• Grade final surface to slope away from enclosure to facilitate drainage.
• Remove tools and debris from the site.